If you’re an avid traveler, chances are you also
love taking photos. Larry and I can take several thousand on a weeks-long trip.
Whether you use an actual camera, (DSLR, mirrorless, or point and shoot variety)
or a smartphone (cameras are excellent these days), taking digital photos is
really easy. So we snap away, sometimes taking the same scene from various
angles in order to choose the best. It’s also easy to delete those that don’t
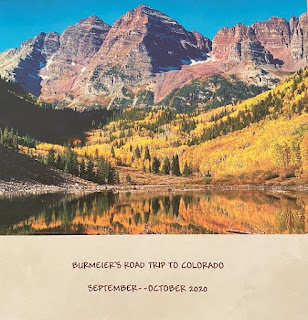
measure up to “copying” status.Large cover photo highlights contents of a photo book
So our online file of travel photos continues to
grow. Trying to share a huge stash of photos on the computer is
counter-productive. And we know that not everyone enjoys reliving our latest
adventures. The goal is to garner interest without causing friends to slip into
head-nodding boredom and to also have easy access to our memories when we’re
feeling nostalgic.
Make
a photo book
I have found that photo books are an excellent way
to preserve these memories. There are many companies (Shutterfly was one of the
first) that will print your photos in a book format. Some services will take your
photos and place them in a book format for you. That option might be okay if
you’re only recording one event or place and don’t have a gazillion photos. It’s
a quick and easy way to the finished product.Photo book covers work with your chosen picture
and offer options with color, style, font, and more.

Because pictures of our travels feel very personal,
I prefer to place them myself. I know which ones are most important to us and
the order that I’d like to showcase them. I also include sufficient explanatory
text, which isn’t possible unless I do it myself. Besides, making the book
satisfies my creative streak.
The process is fairly standard, regardless of which
company you use. First, you choose the photos that you want included. Selecting
and editing the photos to be used is often the most time-consuming part of the
process for me, especially when we have hundreds or thousands of photos to wade
through. But it’s also very important if you want to make a high quality book
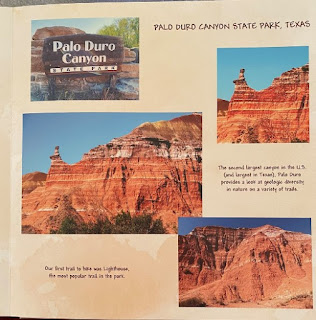
with the best photos possible.Each page can be customized as you wish.
Next, upload the photos from your computer or phone
into the template you’ve chosen. If a company offers storage, you could
transfer the pictures to that site and work from there. I typically place
photos in somewhat of a chronological order and find it easier to manage
placing the photos if I only upload around 20-30 p at a time.
Many design options are available to choose from
when you actually start placing photos on the pages. You can choose the size of
the book, which can range from 8 x 8 to 12 x 12 inchers, and the cover design
and material (hard or soft). Select a theme or style, backgrounds for interior
pages, placement of each picture on the page (as well as number of photos per
page), and different creative embellishments to add interest to your masterpiece.
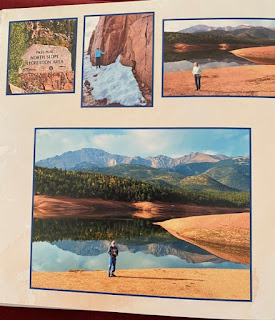
As for text, you can choose the font style, color, size, and placement.Frames showcase special photos.
This is where you let the creative juices flow. Each
page might have a different background, or you can be consistent with the same
one throughout. Let the pictures be your guide as to placement and how many fit
well on a page. A selection of layouts will probably be provided, but you can
customize the layout however you wish. Cute labels, quotes, stickers, borders,
frames, and more will add to the personalization of your book.Embellishments include preprinted sayings,
pictures, quotes, and decorations.
When you have finished, especially if you have added
text, ask another person to proofread for you. We’ve found that another set of
eyes really helps prevent typos and misspellings (and we still miss something
in almost every book I make!).
In addition
to recording our many travels, I have made books for presentation at weddings
and books that tell and preserve life stories of older persons. I’ve made books
recording special experiences such as sky diving and family reunions. There is
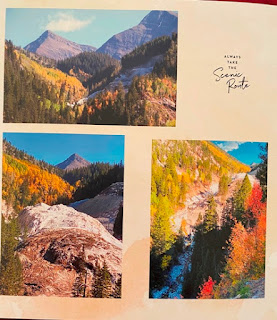
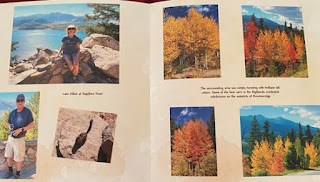
a learning curve, but the process gets easier with each book you make.Example of a double page spread
The finished product is a professional looking keepsake
that you’ll be proud to show to others. And you will cherish the memories that
are so beautifully displayed in your unique story.


No comments:
Post a Comment